Perfect Steak Diamond Bar-marks
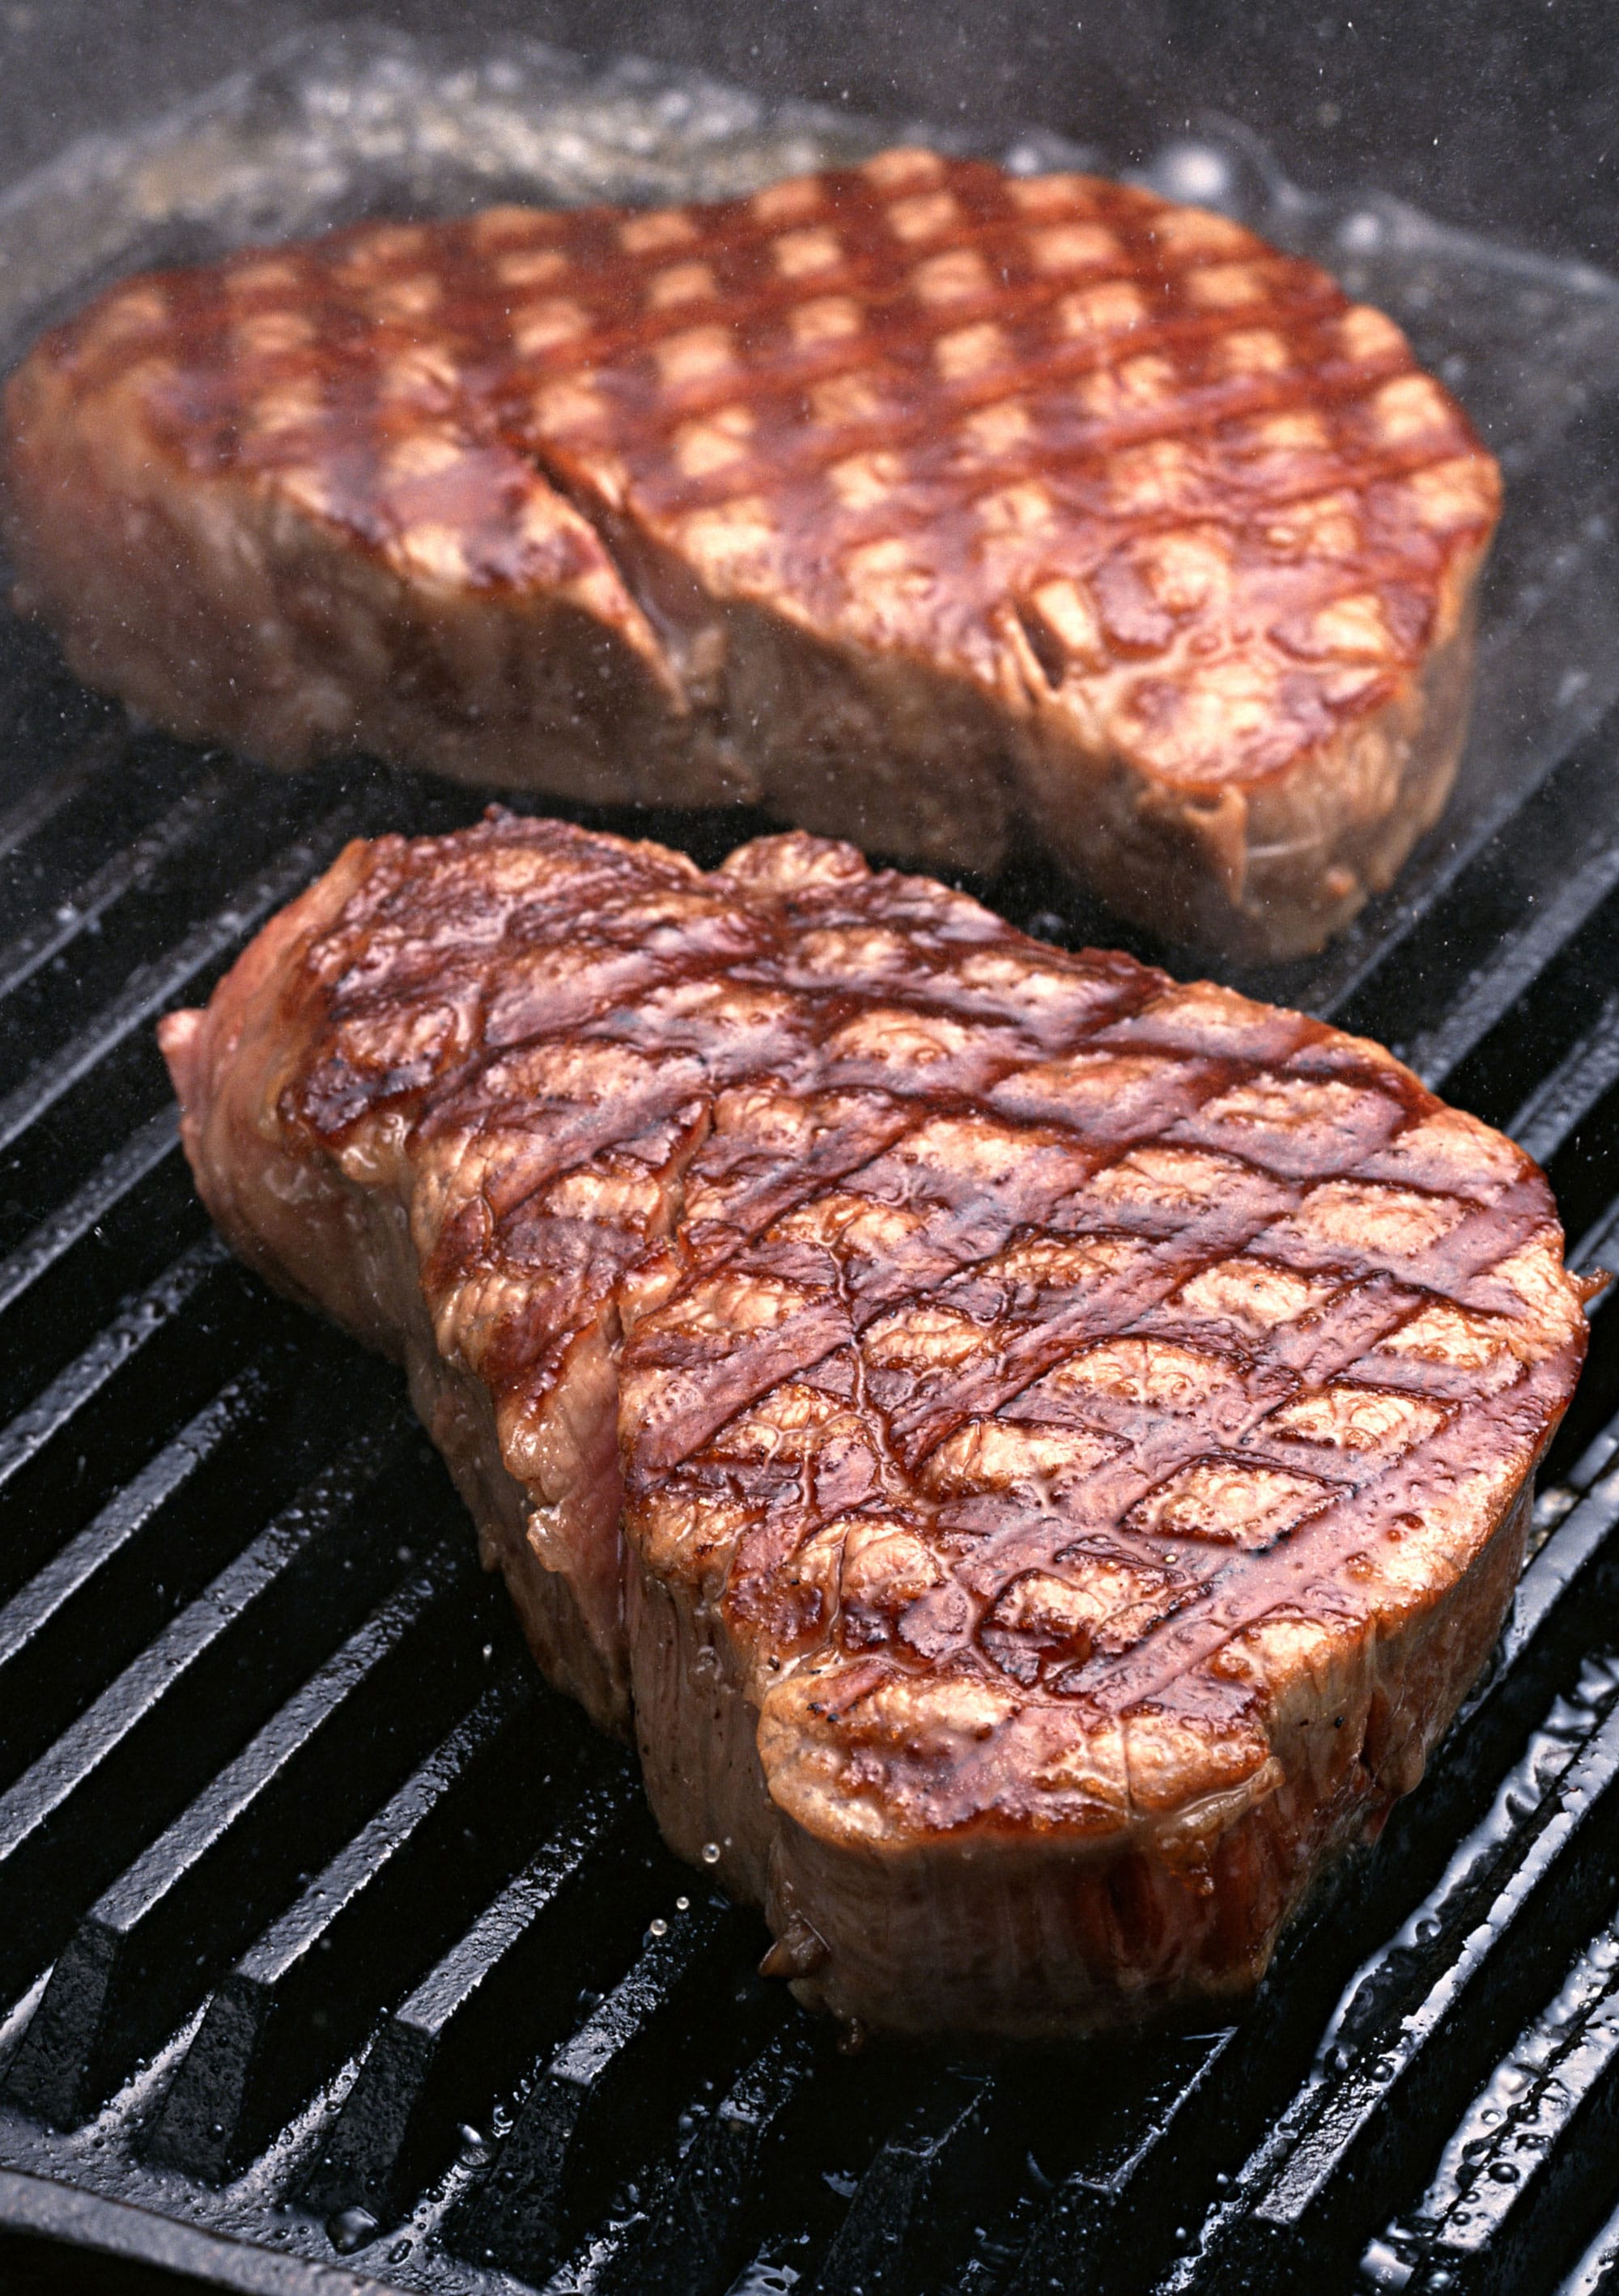
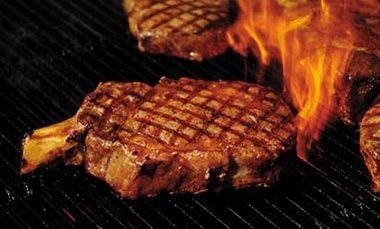
As a top-notch steak chef, branding your steak with beautiful diamond bar marks is one of the things that will set you apart as a master of the grill. It makes the steak look great on the plate and really takes the overall presentation to a whole new level.
To get it right there are a few important steps you should follow and I’ll go through these in just a minute. Before I do, I want to introduce you to what we at The Perfect Steak Company refer to as the “Twist and Turn Method”. Here’s how it works:
| Lay
Lay the steak on the grill at the angle shown |
Twist
Twist the steak, same side down in this direction |
Turn
Turn the steak over |

One more important point before we get started: I never-ever use the term “flip”. It just confuses things. Flipping is something you do with burgers! Pro-steak chefs like us Twist then Turn – we never flip!
Ok, here’s how it works,
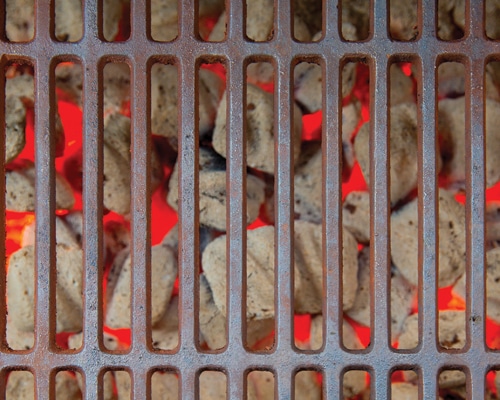
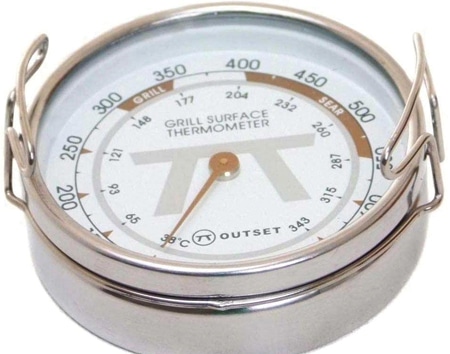
Next, you need your grill surface to be at 400°F or 200°C. This is important. Any hotter and the grill actually burns the meat and the brown bar-marks go black tainting the flavour. Any cooler and you don’t get enough sizzle and the meat tends to just sit there and stew resulting in incipit bar-marks.
The trick to getting the grill the right temperature is to use a Grill Surface Thermometer. These are a great little tool, relatively inexpensive and you just sit it right down on the grill surface and you know exactly what you’re working with. Remember, don’t rely on the thermometer in the BBQ hood, it reads ambient temperature, not surface temperature.
We’re assuming the steak has been out of the fridge for a while and is at room temperature. Take a paper towel and pat the meat dry. You need to get it completely dry of the all the steak juices otherwise the bar marks won’t be clean and crisp.
Next, comes oiling the steak. The best way to do this is with a basting brush. If you put to much oil on the steak it will stew, if you don’t put enough, it will burn. Using a basting brush is a good way to control how much you put on. Paint it on as if you’re painting a fence. You need good coverage but no so much that the paint runs or drips.
By the way, you need to be using a high smoke-point oil (Olive oil smokes at around 380°F so it’s no good for high temperature grilling). I’ve found the best oil to use is Grape seed oil. It has a high smoke point, it’s readily available and not overly expensive.
Now you’re almost ready to go but before you do, you are going to need to know how long to cook your steak for. Timing is a topic for a different day, suffice to say that knowing how long to cook the steak is mission critical go cooking your steak to your perfect level of doneness. (Download our free Grill Guides and Timing Charts or pick up our steak cooking App, “Steak Time” from the App Store).
Lay (don’t drop) the steak on the grill with the top of the steak facing toward 10 o’clock. Once the meat touches the grill, do not move it (i.e. if the top of the steak isn’t facing exactly toward 10’Oclock don’t pick it up and try again). If you do, you’ll ruin the effect.
Then, using a large flat spatula, give the meat a gentle press down. This is to ensure it gets full contact with the bar grills. Essentially what you’re doing here is branding the meat. If you don’t do this you’ll end up with wishy-washy bar marks because the steak and the grill surface will not have made adequate contact.
When times up, twist the steak so to top faces 2 o’clock. Again, a gentle press down with the spatula.
When times up, (and this is really important) use the spatula to get in under the steak (we call this method “the deep scrape”) and turn the steak over. The reason for this is that most of the oil has now been cooked away and bits of the meat can be stuck to the grill. If you simply use tongs you run the risk of tearing the meat away from the grill and leaving some of those beautiful bar-marks that you’ve worked so hard to create, stuck to the grill.
The job’s pretty much done now but there is still a few ways to mess it up. You know of course how important it is to rest steak before serving it but where so many people go wrong is that they rest their steak under aluminium foil. This can spell disaster for your bar-marks. There is still a lot of steam coming off the steak and if you ‘tent’ it in foil, that steam will literally sweat the steak and turn the crisp bar lines soggy and smudgy. A warm spot (preferably with the steak sitting on it’s side) is best.
That’s pretty much it for bar-marks, you’ve branded your steak with cross-hatched or diamond bar marks and bought it to the table with all the WOW factor that creates.
Great job.
The steak cooking Source Code is now available.
Our new book, Your Perfect Steak goes into a lot more detail about how to prepare for cooking as well as all the timings and techniques we’ve developed as we test-cooked over 1000 steaks. The book is available to purchase in Hard Copy direct from us or you can go directly to Amazon.com and download it for Kindle right now.
Order here now, from Amazon.com or Kindle.
